I have been trying hard not to lose the sense of momentum that I gained from the Michael Brennand-Wood workshop I did earlier this month. Without the excitement of the class atmosphere I find it all too easy to fall back into familiar practices and patterns.
I was pretty excited to realise that one very direct response that I could take from the class was to use one of the pieces I produced for it’s original purpose, as a screen to print from.
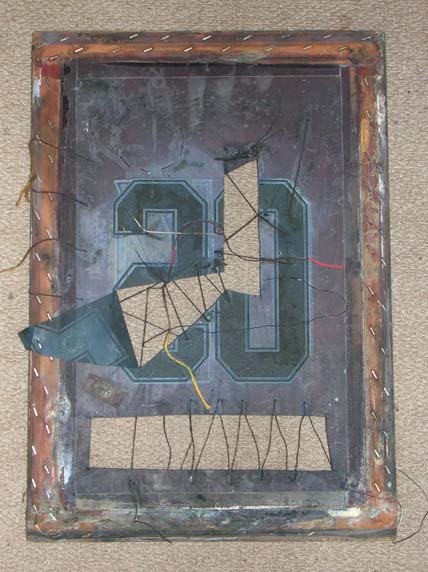
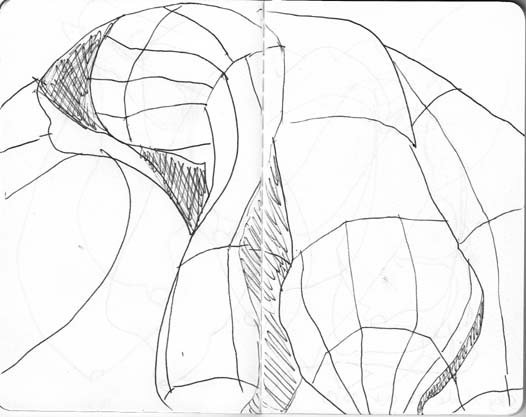
The screen with cut and stitched sections.
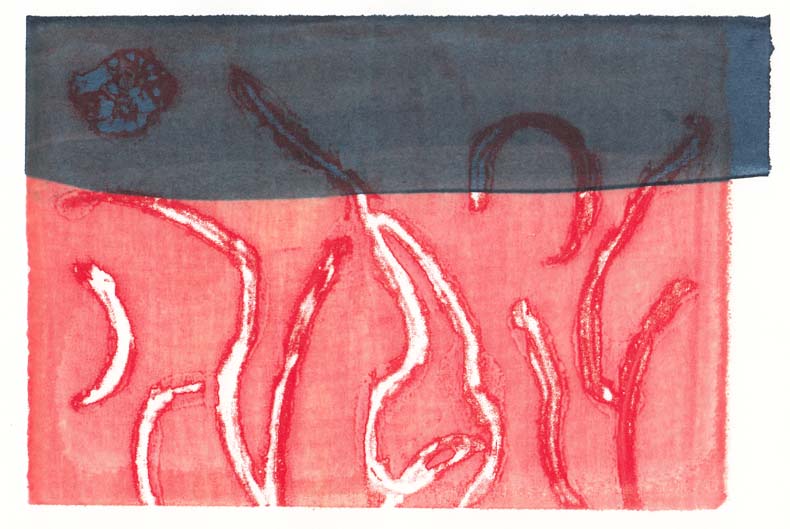
In the workshop the screen had been the frame for exploration of 3D layers with connecting threads between them. When it came to printing I first put the thickened dyes I use onto the ‘back’ of the screen and then placed paper directly onto it, carefully pressing down to transfer the image. The result is a subtle background with a much stronger transfer of colour where the original image remains on the screen.

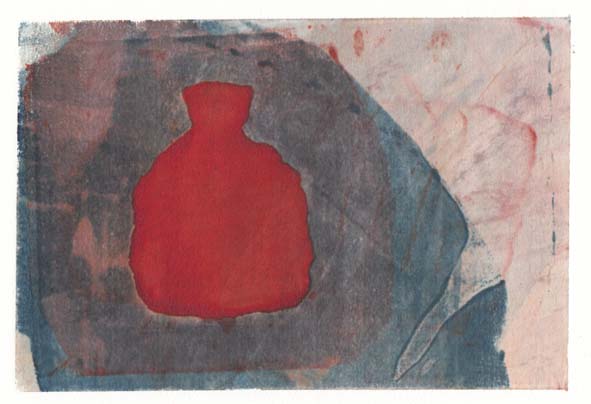
Stitched and cut screen image using thickened dye on Japanese paper, 9 October 2013.
In order to use the ‘front’ of the screen, the normal approach, I had to cut those strings that prevented me from running the squeegee across the screen.

The ‘front’ of the screen prior to printing.
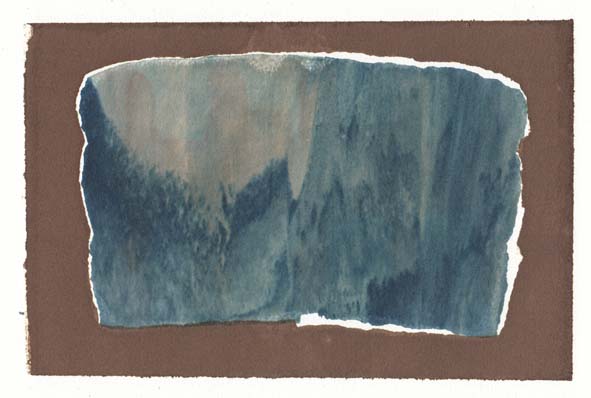
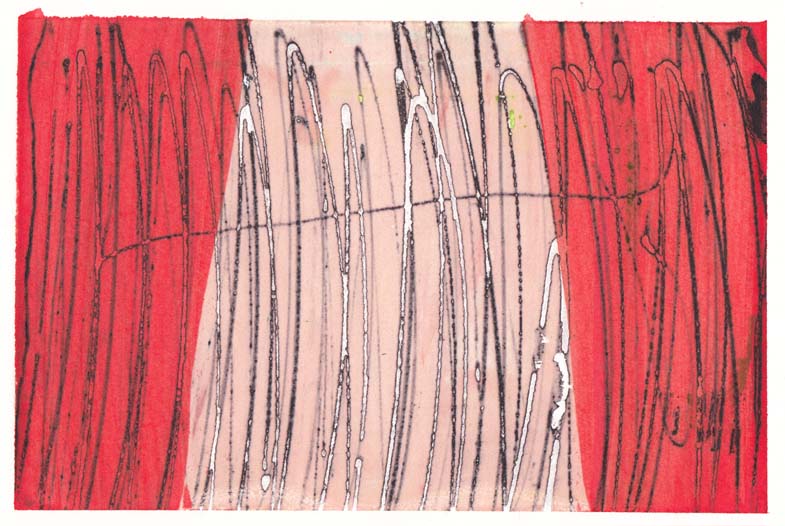
Because the screen already had an exposed image on it, the thickened dyes only transferred to the paper where the original image was and where the screen had been cut away. This resulted in a very different image from the one above. I like the large amount of white space in this piece.

Image resulting from the ‘front’ of the screen. 9 October 2013.
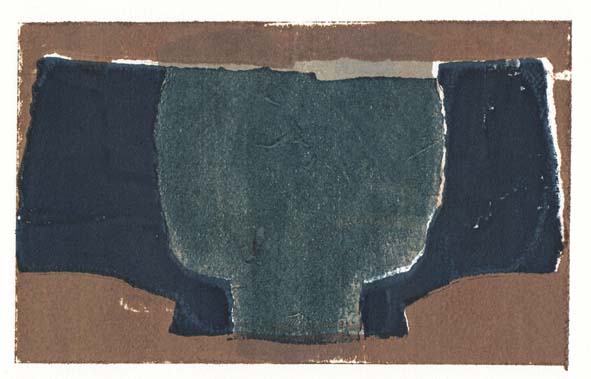
I have continued to use the same screen for printing, modifying it as I go. Most recently I combined the use of certain sections of the screen with other techniques to produce this multi-layered approach.

A combination of printing approaches, using the manipulated screen and de-contructed screen printing, with masking and overlapping. 25 October 2013.
I think this is a very fruitful approach and I intend to continue exploring this idea at my next sessions at Megalo.